Caulking, puttying, and starting to prime inside

IMG_0149IMG_0152IMG_0164
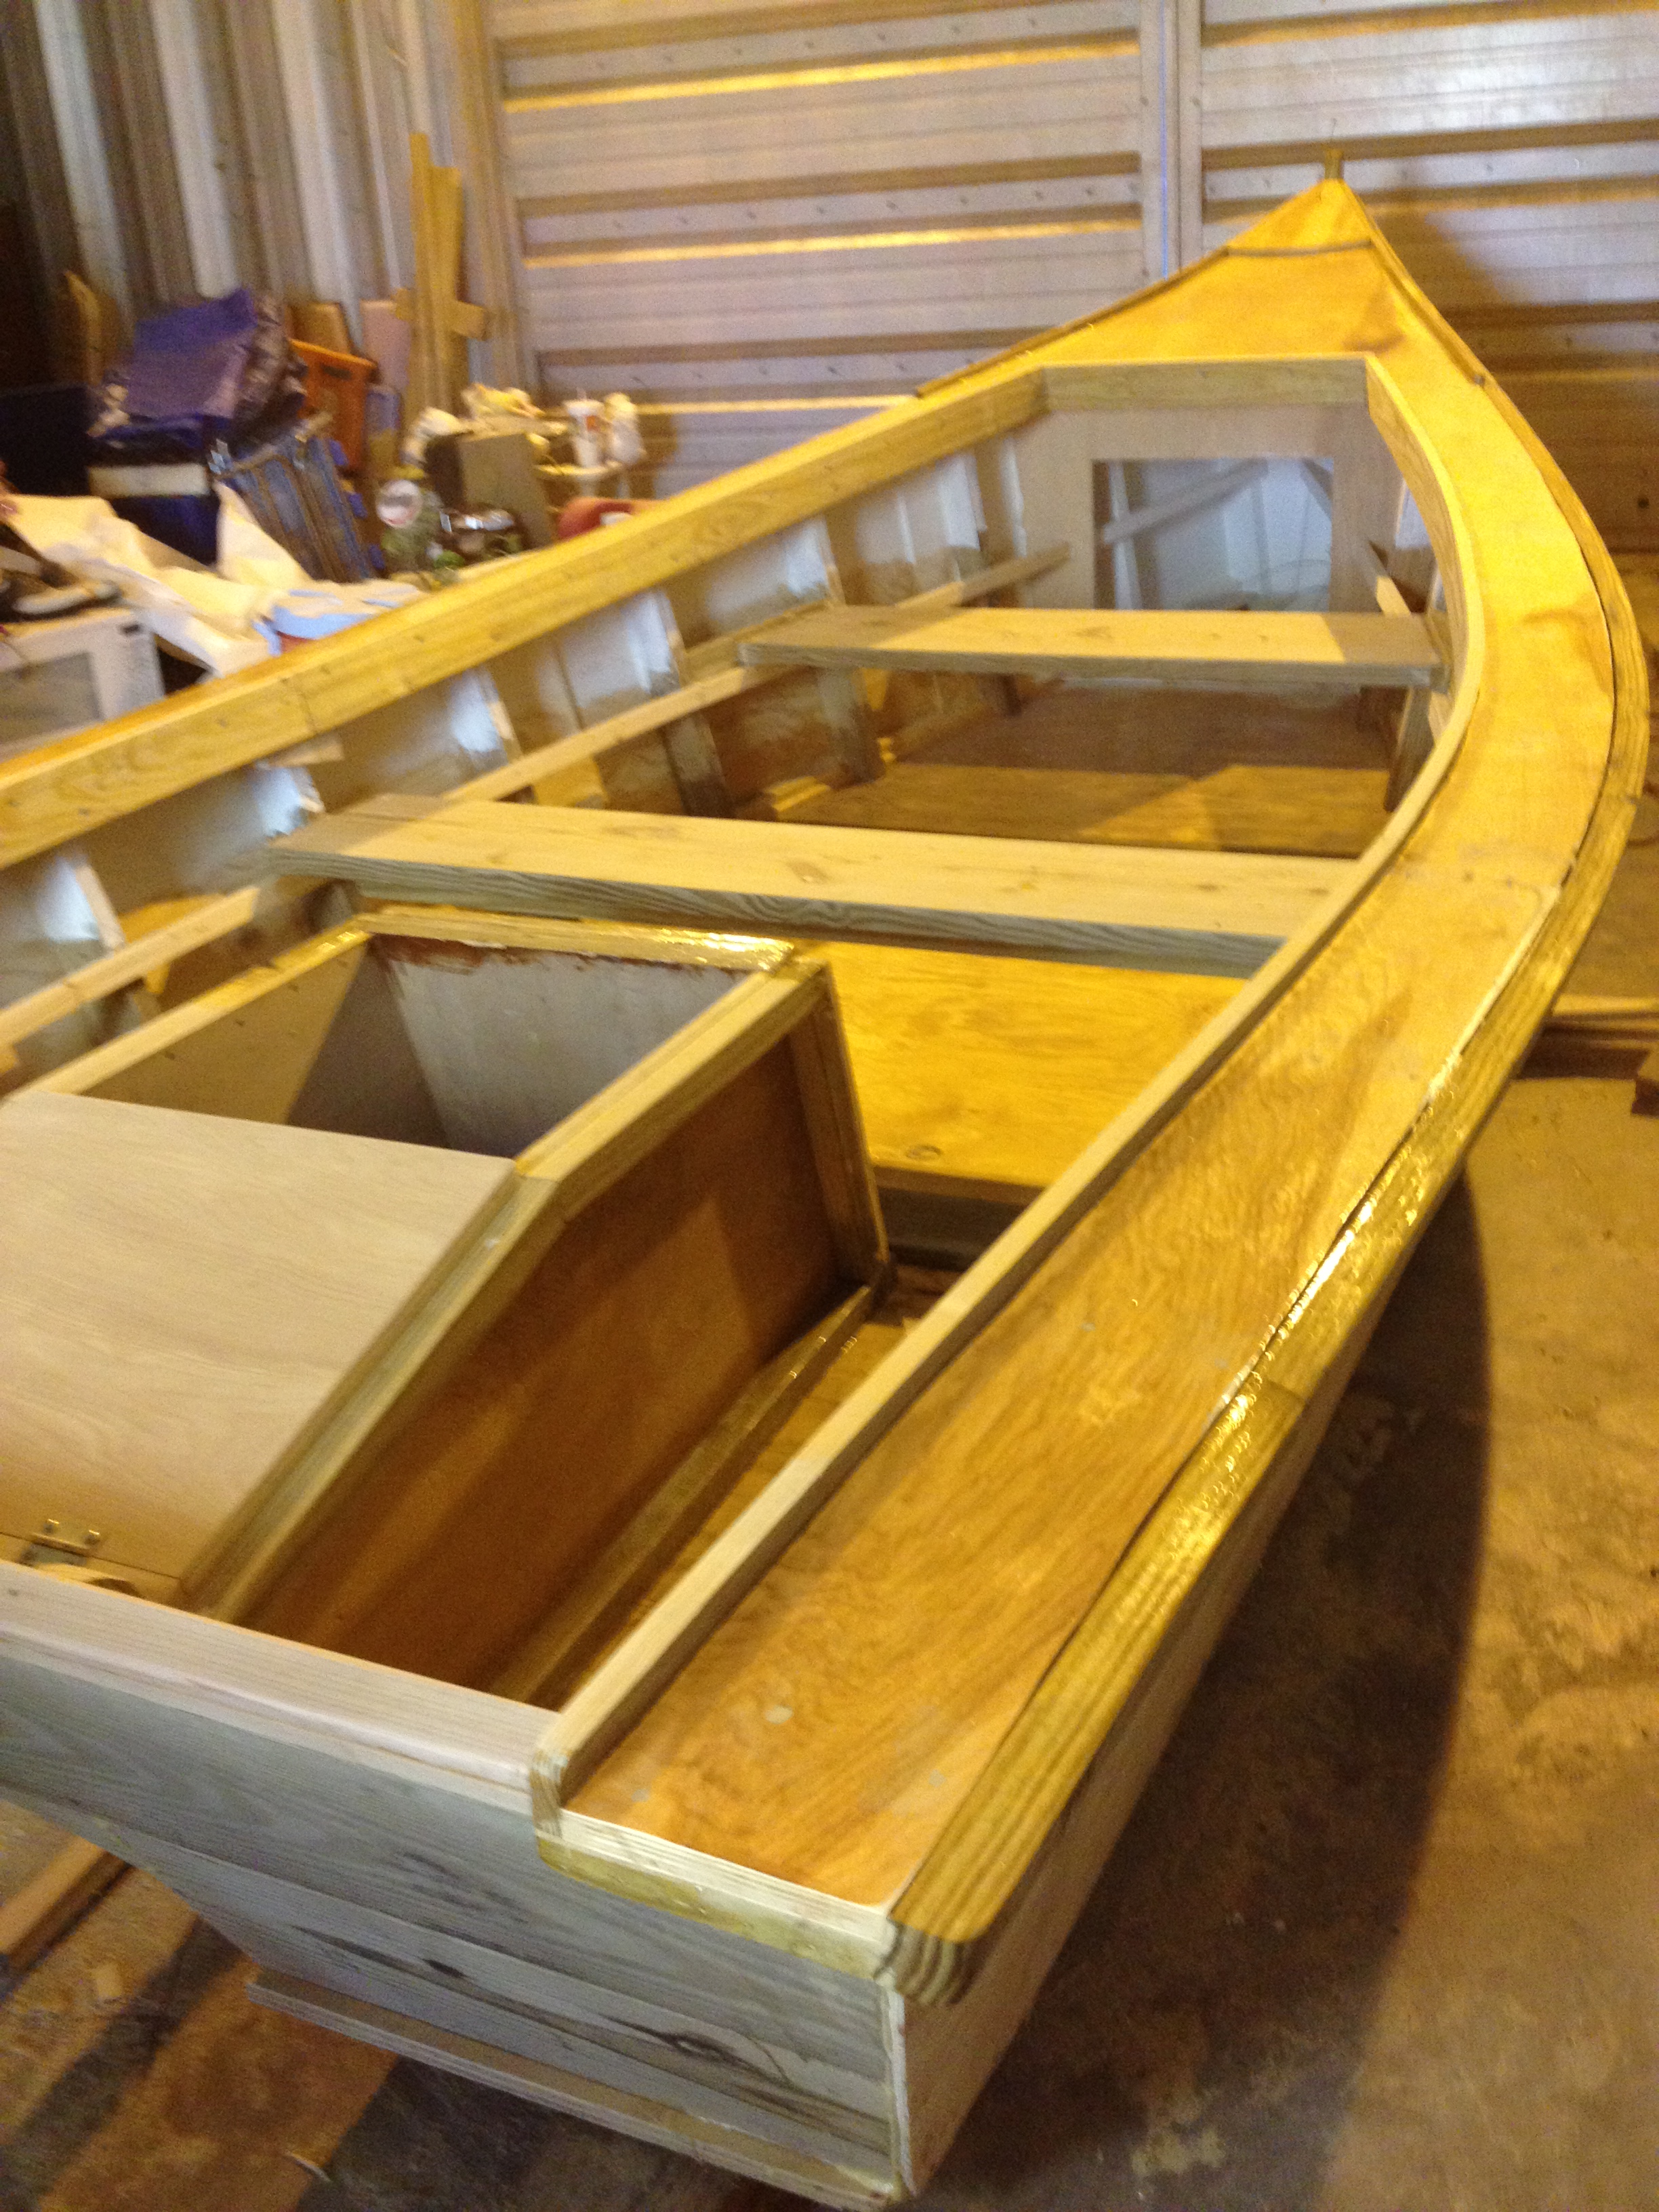
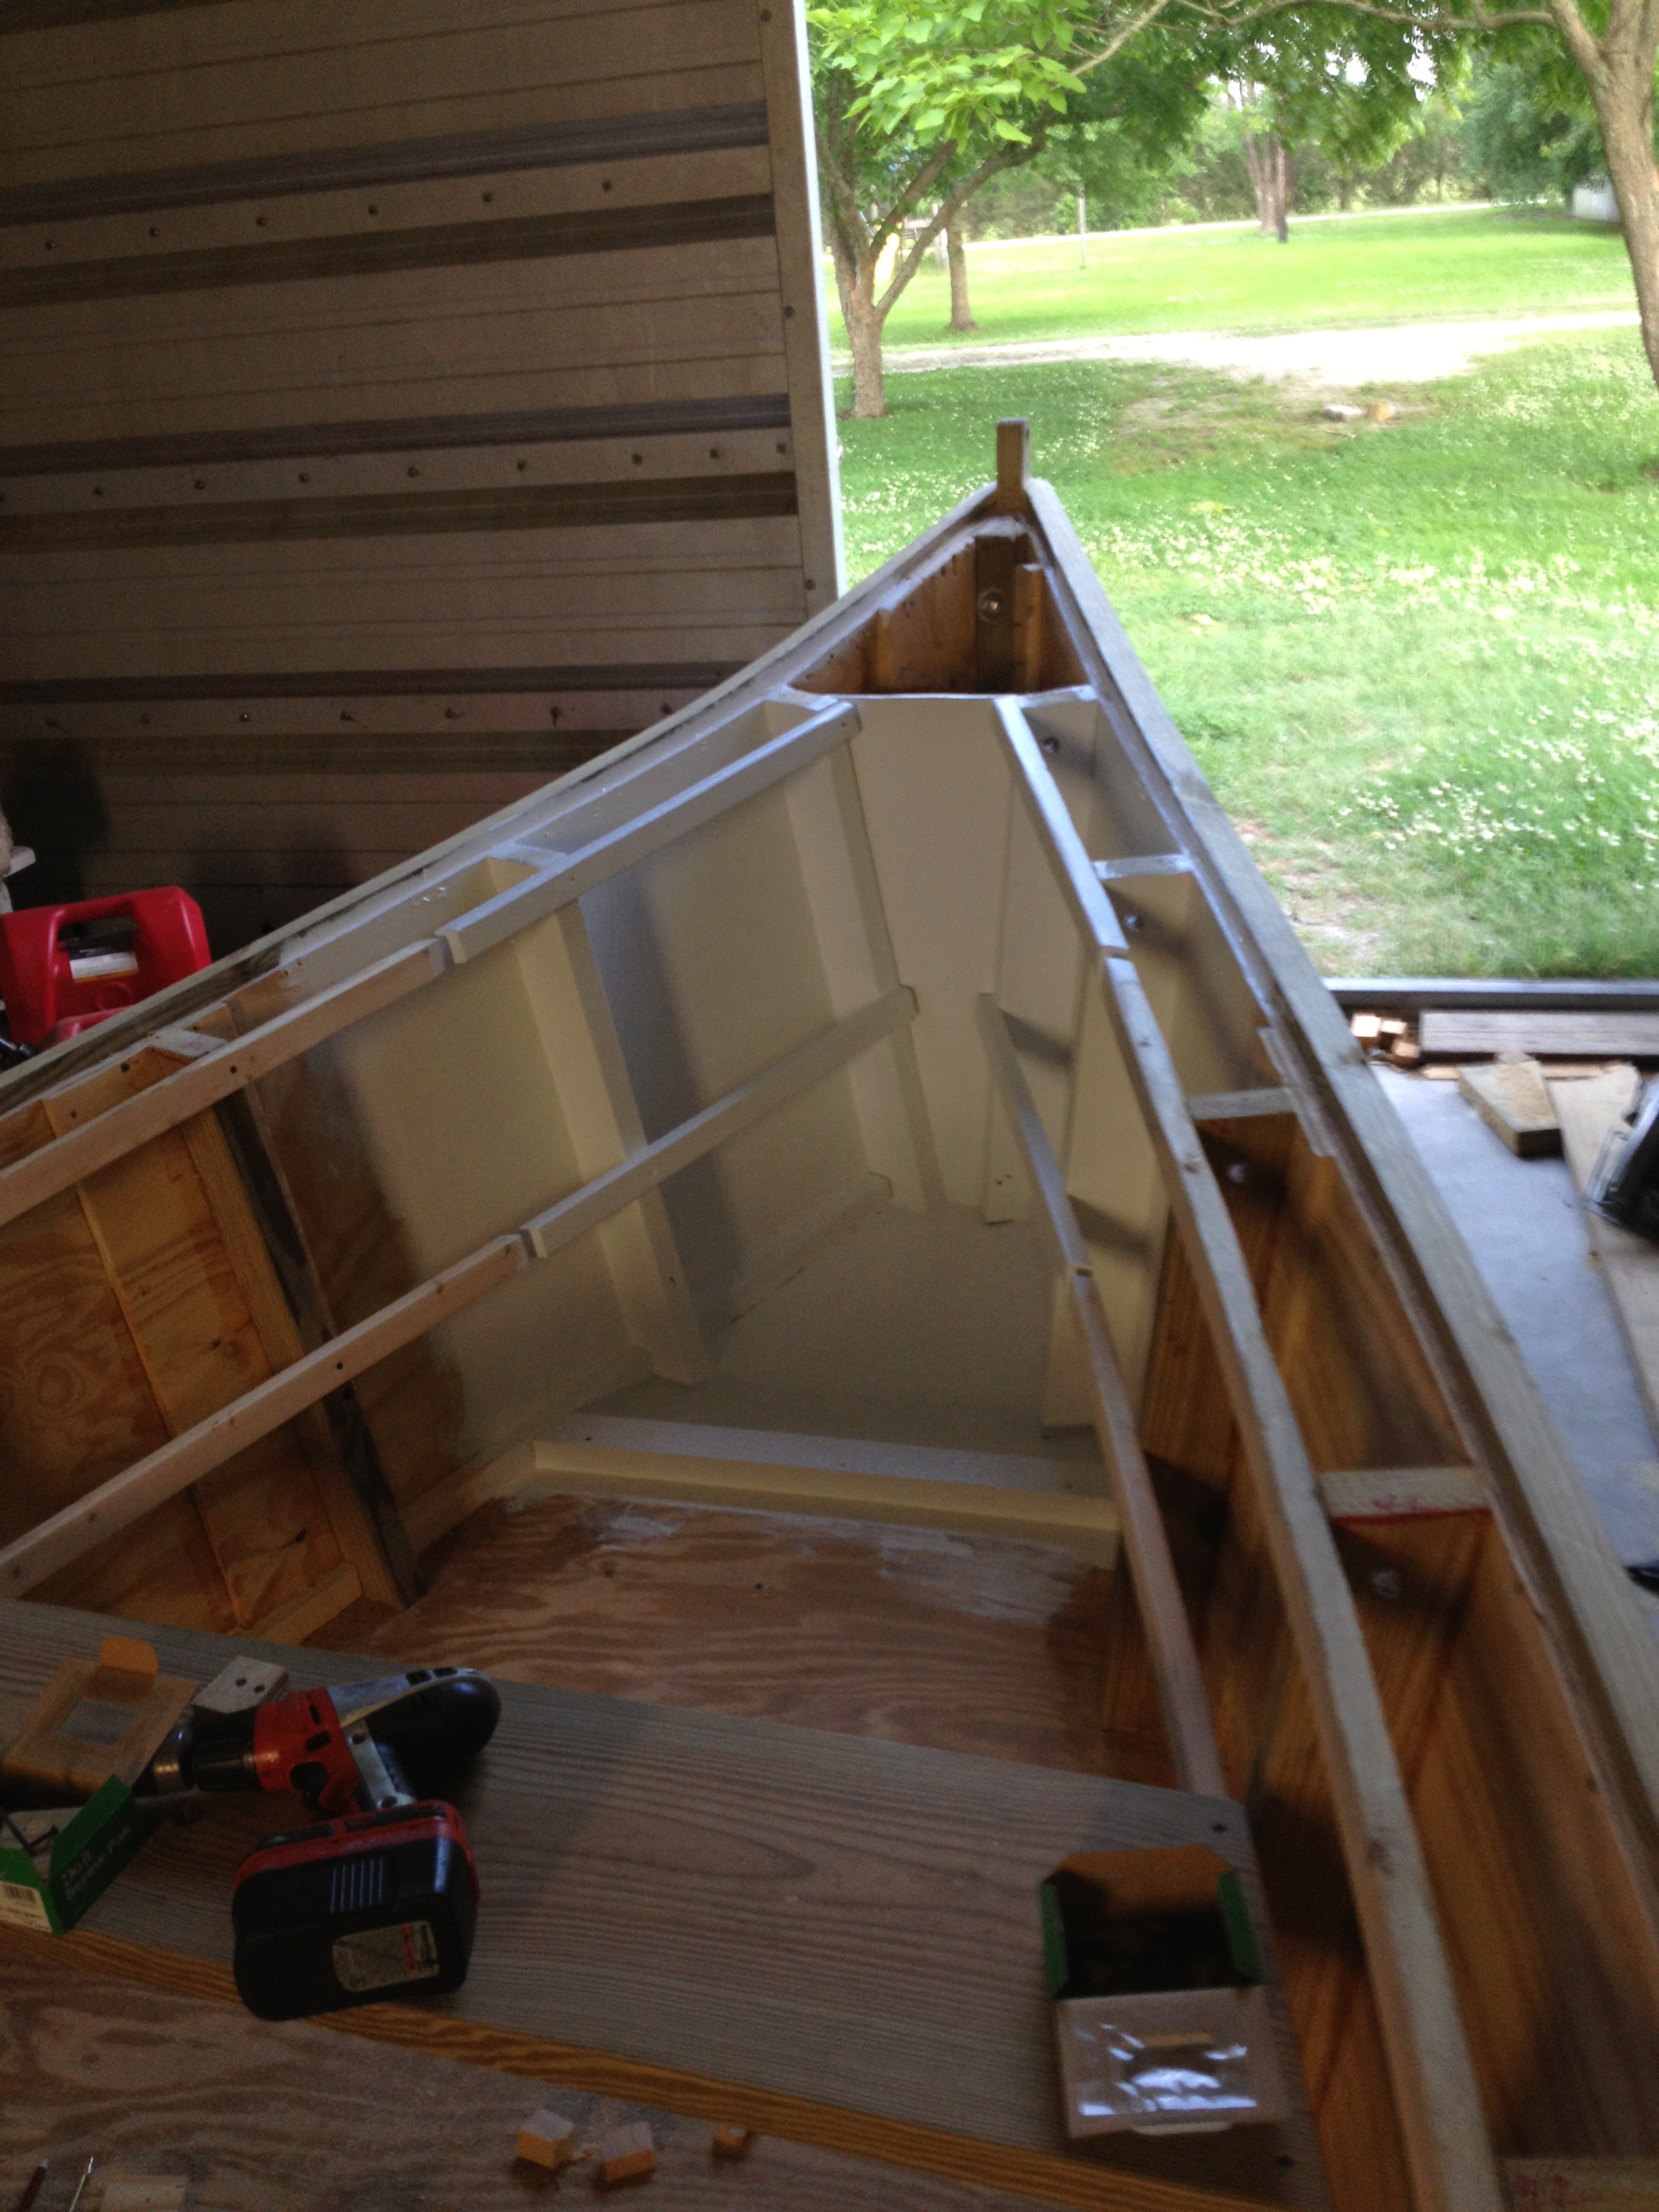
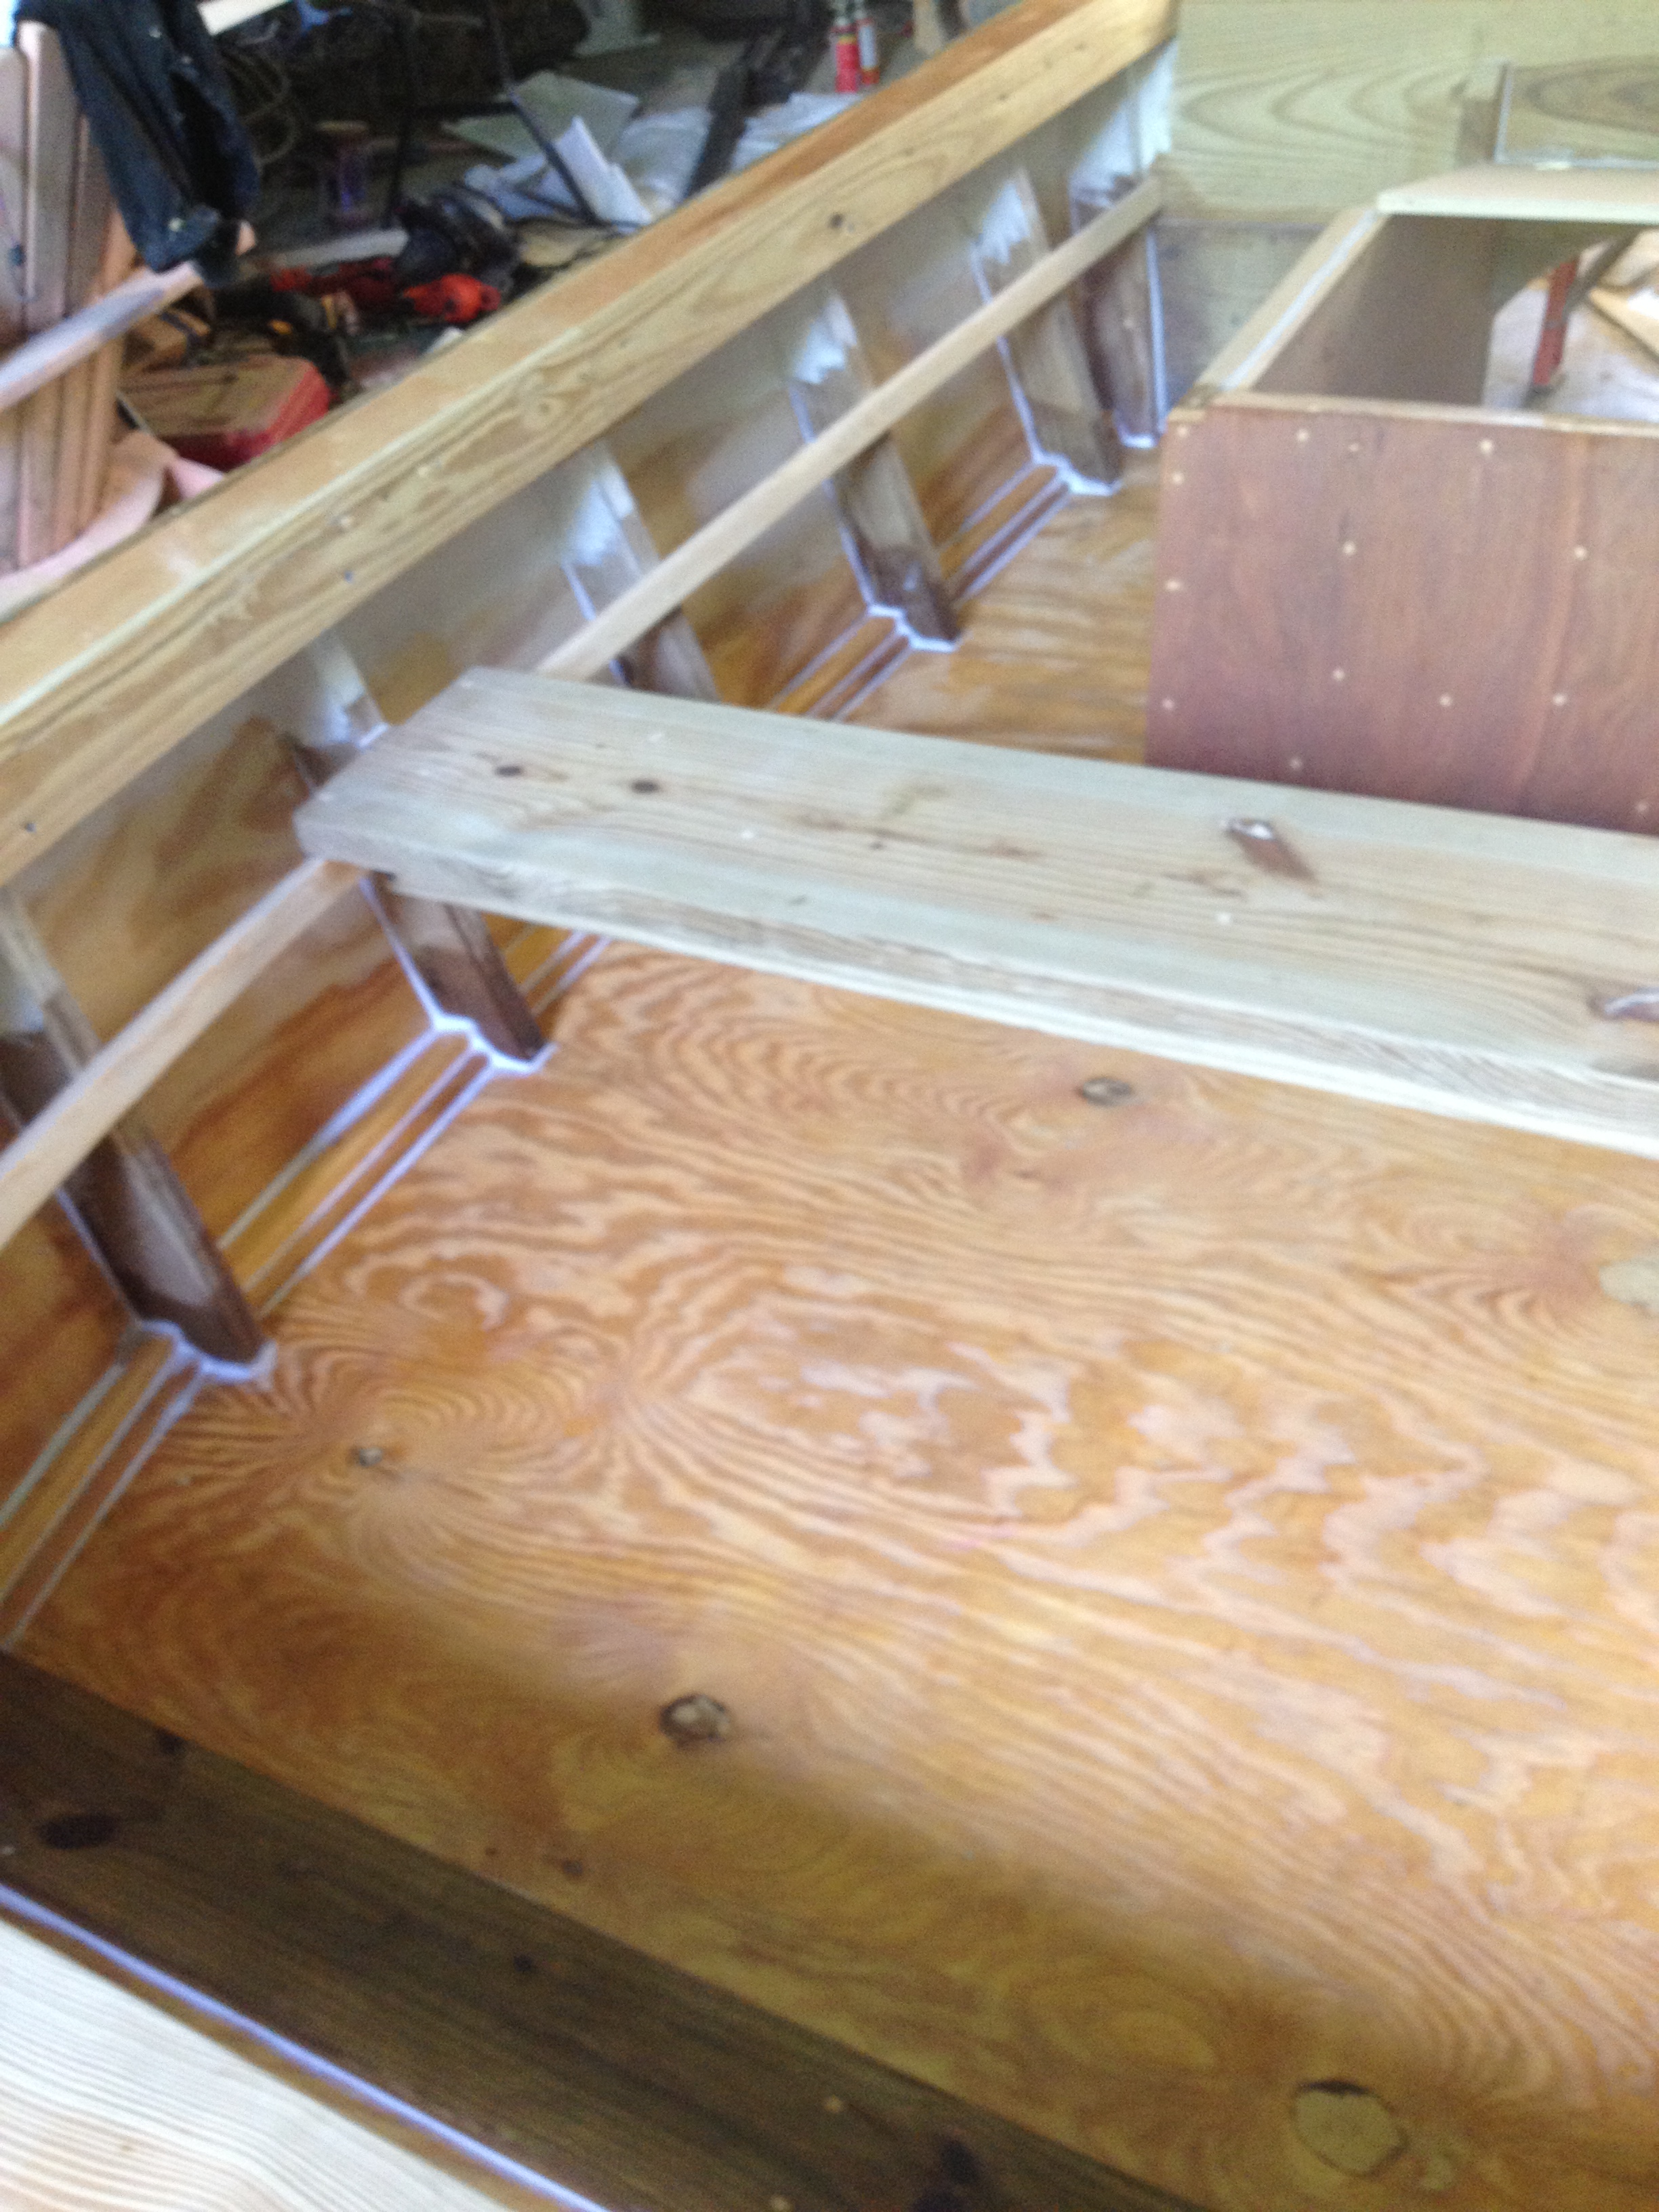
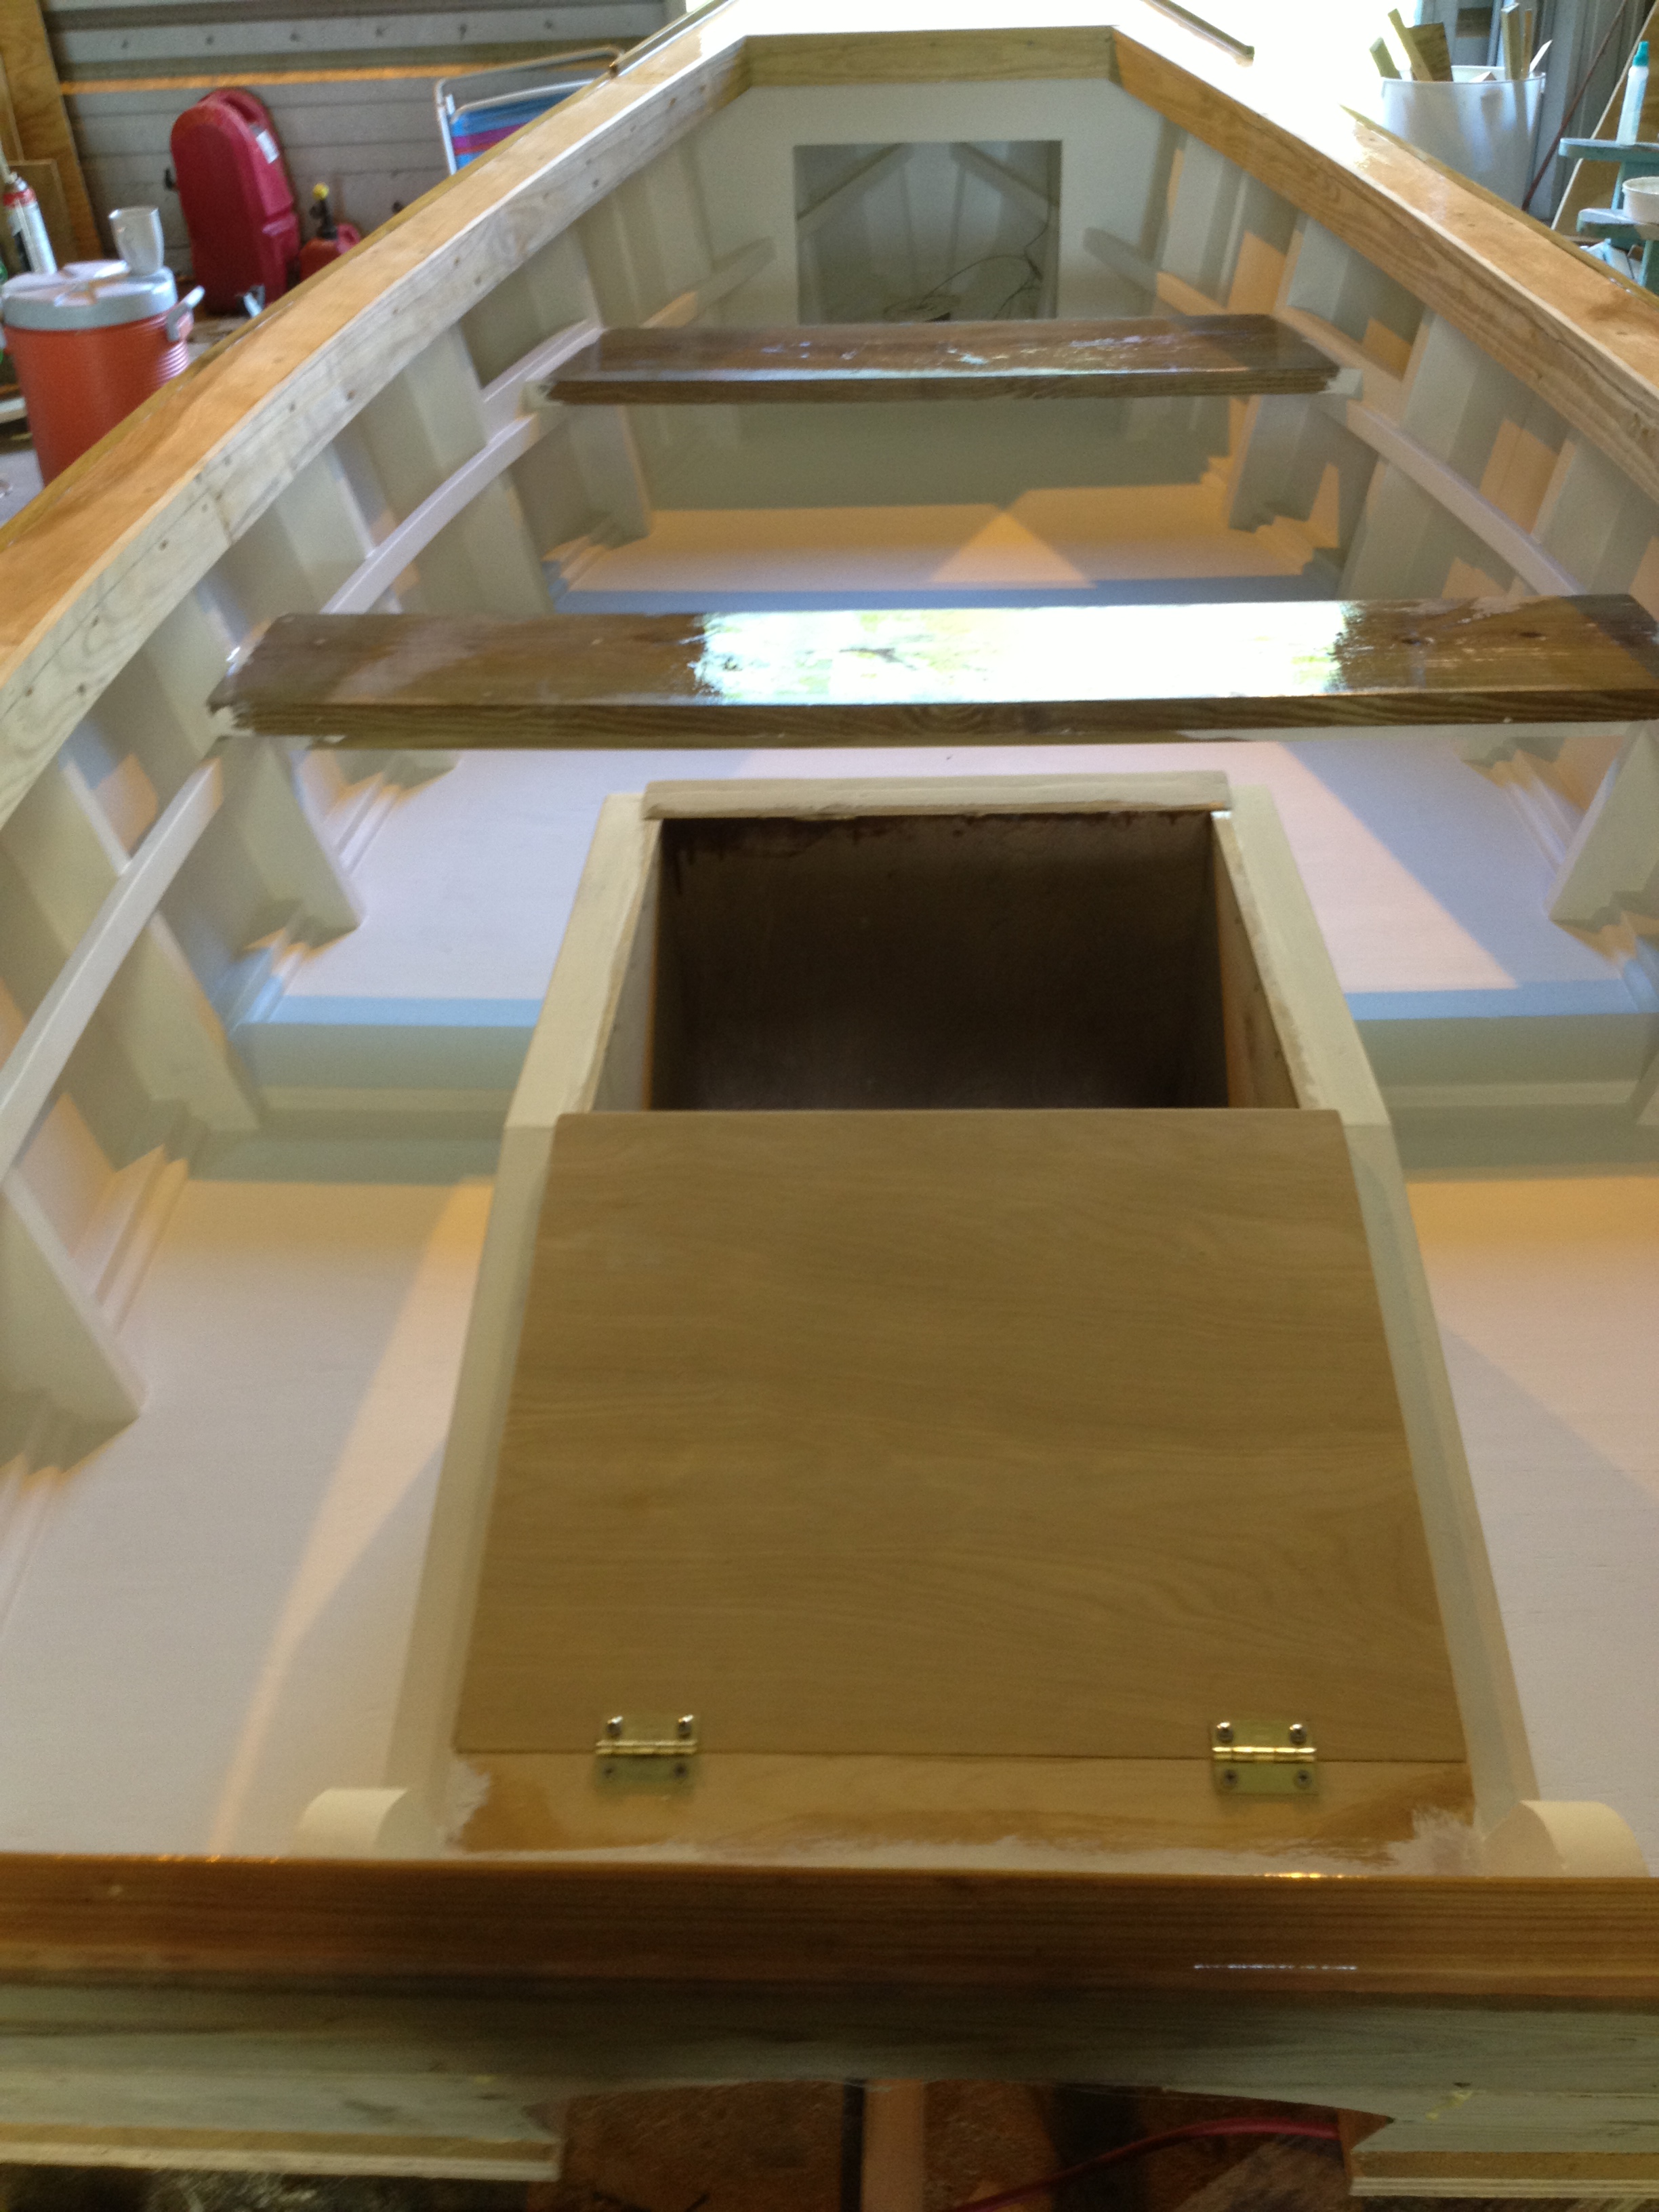
The next step was to take epoxy, filler, and white color(so you can see what you’ve covered) and make a caulk mixture. I bought empty tubes from west marine. I did the mixture by taking the epoxy and mixing in filler till I got a peanut butter consistency. I added the color and then last, added the hardner. You have to do really small batches as the epoxy gets hot inside the tube and hardens quickly even though I used slow hardner. I put the mixture in the empty tube, put it in a caulk gun, and caulked all the joints in the boat. After allowing it to dry overnight, I did one last puttying and sanding and started priming the inside of the boat. I applied 2 coats of primer to the inside and it’s starting to look good. This will be all the coats it will get till after I have flipped the boat over and finished the bottom and sides. I kind of figure I will scratch and nick it in the process, so there’s to need to put the finish coats of paint on yet. When I flip it back over and have it on the trailer I will do the final finishes. Next I will move to the top decking after I have puttied, filled, and sanded the splash rail. I hadn’t done anything to it yet because the wood was still wet. Now that the wood has finally dried out I am going to concentrate on getting it shaped to paint.
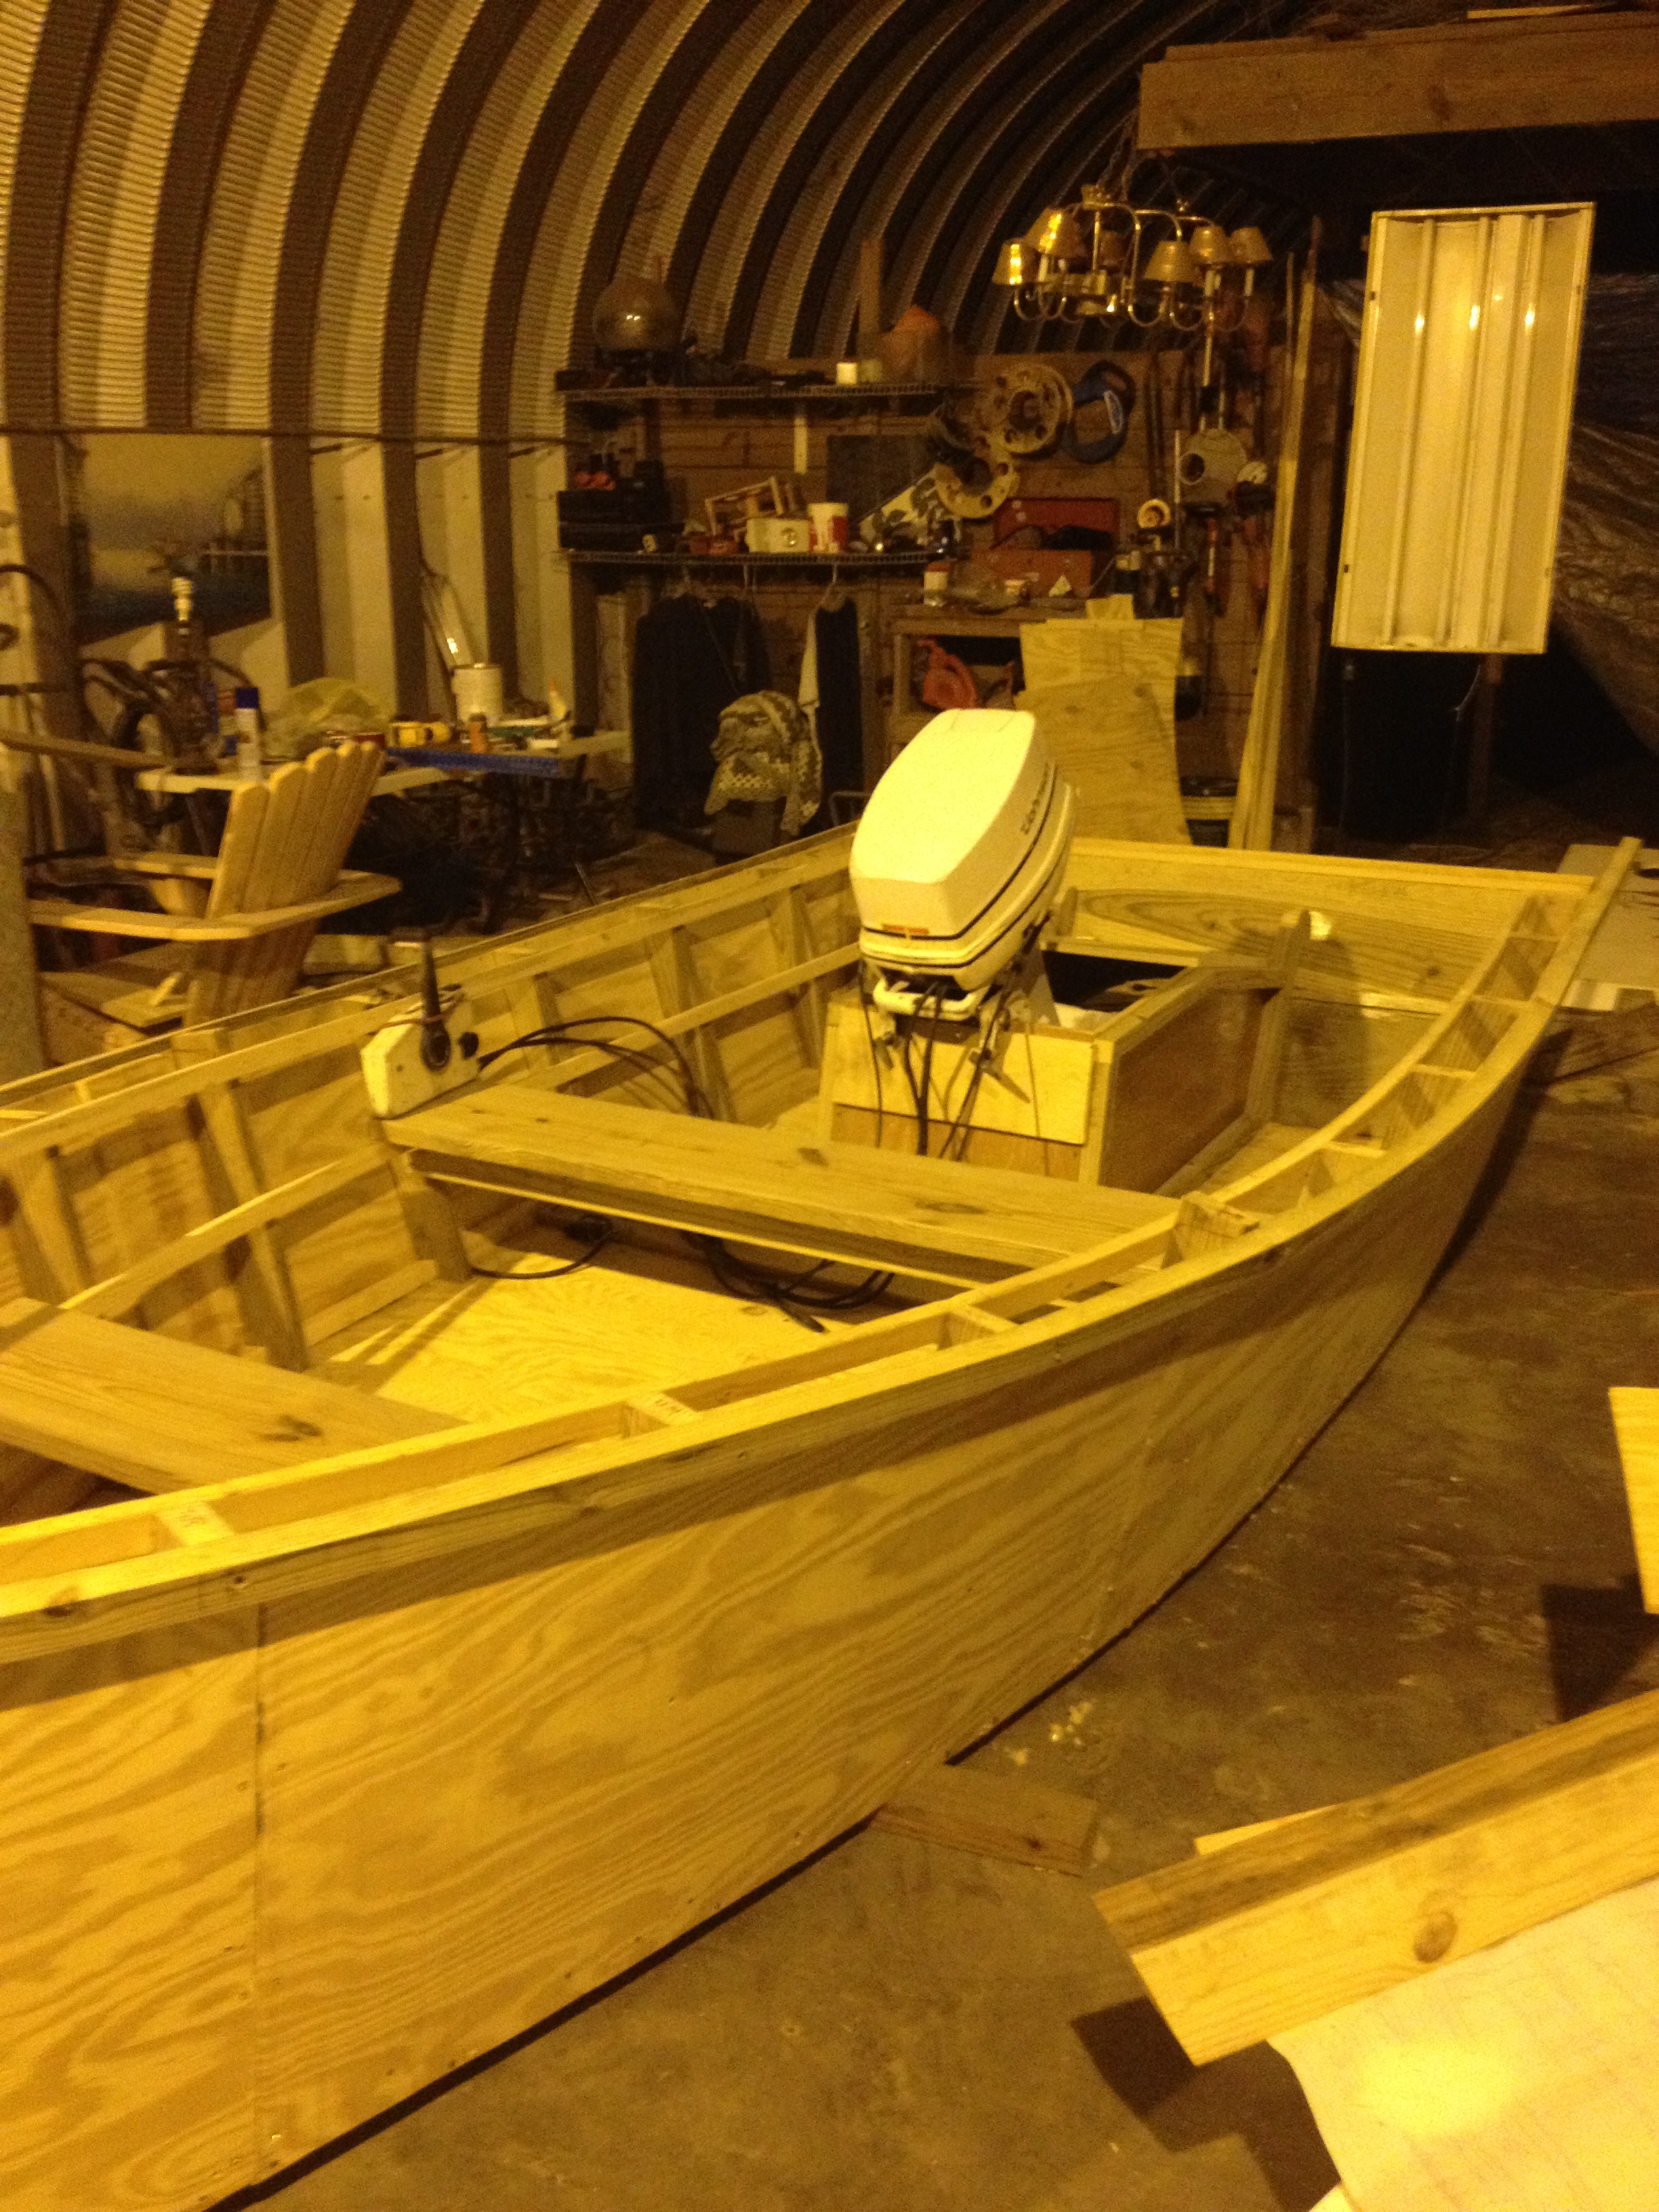
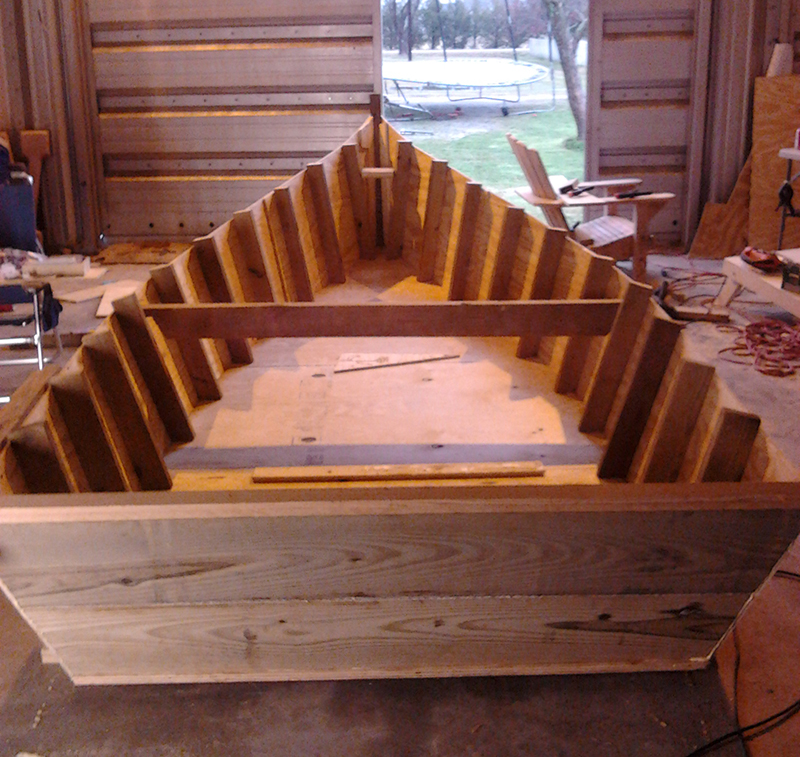
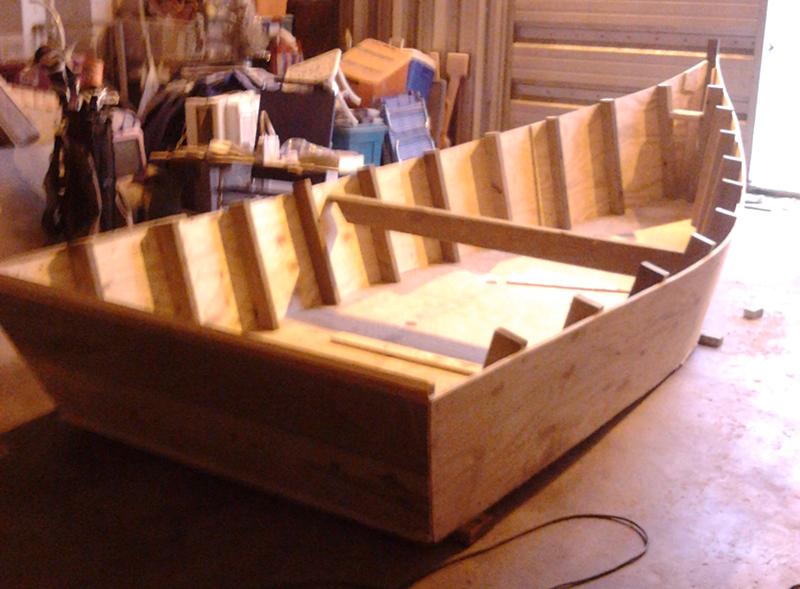
Shaping up the top decks for painting

IMG_0132IMG_0133IMG_0134

After getting the side decking in, I moved to the transom ends, cut them with a jigsaw, and used a sander to get the final shape. I then moved to the bow to install another splash guard and pie shaped piece to mount the bow light on. If you notice, I also added another piece of ply to the front of the motor box and shaped the top. Once everything was puttied with plastic wood and sanded, I applied two coats of epoxy to the top decks. I then coated the floor, motor box, and 6″ up the sides with epoxy just to waterproof the floor. After everything had dried, I sanded all surfaces to ready for primer. Before I start though I am going to mix epoxy with a filler and white color to caulk all the seams. I did go ahead and prime under the decking to make it easier before I got everything assembled. Slowly but surely this thing is starting to take shape. I have to make myself slow down sometimes to make sure that I do everything a step at a time.(Especially since I don’t have instructions) Trying hard not to rush it, cause man i’m ready to go fishing!

Building the top decking

IMG_0108IMG_0110IMG_0124After getting all the tops of the side timbers level, I made patterns for  the top decking down each side. I then cut it from 1/2″ ply. I also had to notch the cedar strip on the transom for the piece to lay in. When I had installed the rubrail, I had left it 1/2″ higher than the side timbers so the top deck would sit flush. I then came in and installed a splash guard around the inside perimeter of the top deck from treated (wet) 1×4’s. Being wet helps with the bending without breaking. The deck itself is at a 15 degree outward angle to help deflect water from the cockpit. The top deck is screwed together with 1 5/8″ composite screws into the top of each side timber and from the outside of the rubrail with 2 3/4″ screws. As always, all pieces were glued. If you notice the 2×2 sticking out of the rear motorwell, it’s the keel I installed. It’s screwed into the stem, then along the floor, and finally into the motor well box itself. After installing the top deck and the keel, the boat has really stiffened up. There will be (2) more 2×2 pieces installed on the bottom of either side of the motorwell after the fiberglass is laid on the bottom to keep the boat from skidding in a turn and to protect the bottom when beaching the boat. The model in the pics are my little girl who seems to have no trouble taking time away from her kindle to help me work on the boat.  🙂

Adding the bow cap and finishing the storage compartment

IMG_0082IMG_0100IMG_0101First I cut out the bow cap, wet it with a sponge, and screwed it down to shape it. I used wooden blocks so the screw wouldn’t pull through. After leaving it a week, I removed it the following weekend. I then cut out the bulkhead wall, cut out the rails for it to slide in, and mounted wood to the floor the fasten the wall to the floor. I then caulked and put wood putty in the holes. I coated the whole inside with a coat of epoxy and then painted the inside with 2 coats of primer and 3 coats of marine paint. I figured it would be easier to finish the inside before I put it all together. The unfinished triangle in the front of the boat was coated in epoxy and will be filled with floatation foam after it is assembled. Didn’t care what it looked like as this is the last time it will ever see daylight. I went ahead and pulled the wire for the bow light also. After getting everything ready, I coated all exposed wood to be assembled with epoxy. Then I glued and screwed everything together to complete this part.

Got outboard for boat, finishing motor well

IMG_0033  IMG_0046     IMG_0037   After building the motorwell I installed a rubrail made from treated pine. To form the shape of the boat, I first attached it at the stem and bent it to shape as I went back.(buy wet treated wood and it helps with the bending and dries into shape) I did this with a winch strap to pull it tight and a floor jack to push it up. I attached it by screwing composite 3″ screws through the rubrail, plywood side, and into the side timbers. And of course, I used glue. Where the sides meet the bottom, I also cut the chime logs to help strengthen the connection between the bottom and sides. Later on I will add 1/4 round trim to each piece to help give it a finished look. As always, all pieces were coated in epoxy before being screwed together.

After looking at the motorwell, it didn’t look strong enough. I strengthened it by framing it with 2×2 treated timbers. I got the motor I am going to use. It’s a 82  35hp Johnson. I stuck it on the boat to have a look and noticed I had more space between the clamp than what I thought. If you look you will see a small piece of plywood I used to see if I could add another sheet to the front. It worked so I will be adding another sheet to further strengthen the box

Adding the motor well

IMG_0014

Here I built the motor well from 1/2″ plywood on the sides and (2) 1/2″ plywood sheets glued and screwed together for the front. I then took the assembled box and set it in the boat. I traced the bottom inside dimension for cutout and determined how large a semi-circle I could cut in the transom for the prop wash. I cut the marked pieces on the floor and transom. Then I set the box back in place and glued and screwed it around the bottom and transom. I also added 2 stiff knees where the box meets the transom for extra support. I couldn’t help it. I had to see a motor in place. I had a restored 1957 Johnson 5.5 HP I stuck on just to see. Starting to get excited as it is slowly taking shape!